Create your Subnet
View a Subnet
Section titled “View a Subnet”- Open the Amazon VPC console.
- In the navigation pane, click VPCs.
- Select the VPC that you want to view subnets for.
- In the Subnets tab, you will see a list of all the subnets in the selected VPC.

Create a Subnet
Section titled “Create a Subnet”- Open the Amazon VPC console.
- In the navigation pane, click VPCs.
- Select the VPC that you want to create a subnet in.
myvpc - Click Actions, and then click Create Subnet.
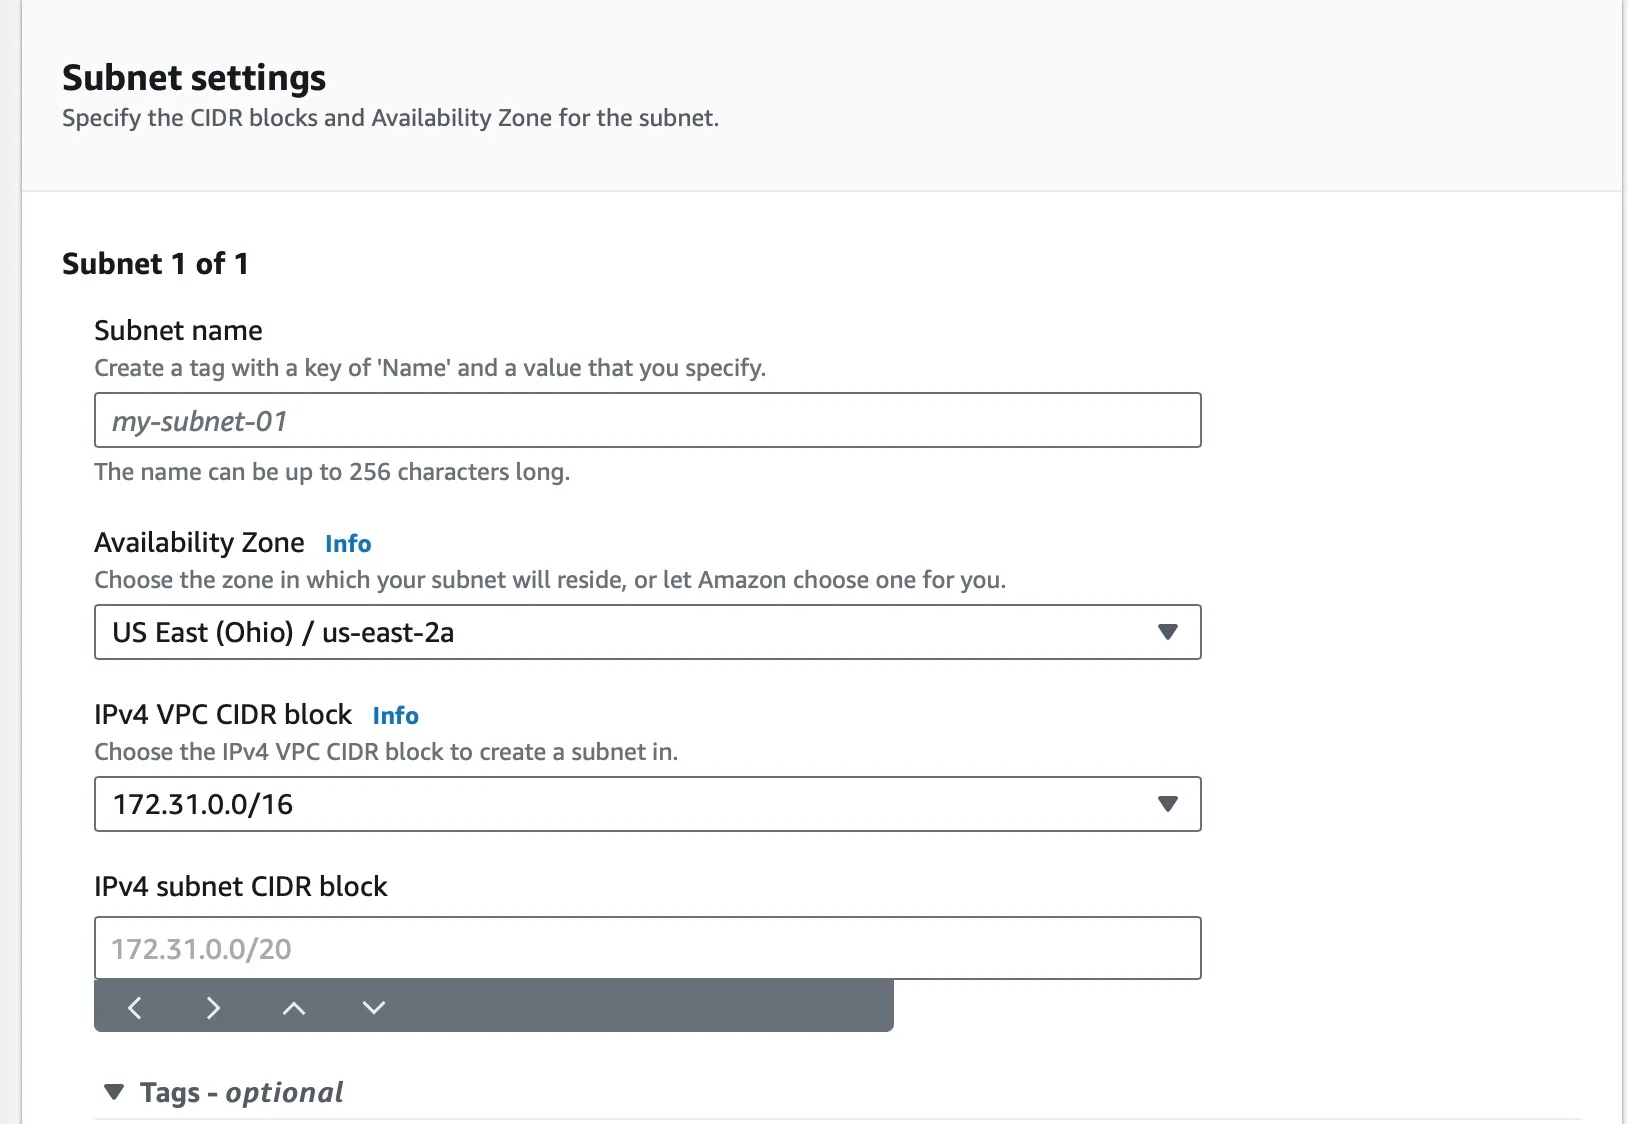
- In the Subnet Name field, enter a name for the subnet.
mypublicsubnet - In the VPC ID field, select the VPC that the subnet will be in.
myvpc - In the CIDR Block field, enter a CIDR block for the subnet.
10.0.0.0/24 - In the Availability Zone field, select the availability zone where the subnet will be located.
ap-south-1a - Click Create Subnet.
- This is still not a public subnet, by default there is no Internet Gateway attached. You will add this in upcoming excercise.
- When you create a subnet its associated “Routing Table” and “Network ACLs” are also created. You just need to edit them to your requirement.