Create your EC2 Instance
Creating an Amazon EC2 instance
Section titled “Creating an Amazon EC2 instance”- Open the Amazon EC2 console ([https://console.aws.amazon.com/ec2/]).
- In the navigation pane, choose “Instances” and click Launch Instances
- Provide a name for the ec2 instance
my-instance - An AMI is a template that contains the configuration for an EC2 instance. AMIs include the operating system, applications, and other software that will be installed on the instance. Select
Amazon Linux 2023 AMI - An instance type defines the hardware configuration of the EC2 instance, including the number of CPUs, amount of memory, and storage capacity. Select
t2.micro- which has capacity of 1 vCPU and 1G RAM - Create a Keypair which will used when you want to connect to this instance via command line.
my-keypair. Keypair is nothing but a public/private key where public key is deployed in EC2 instance and if you or anyone wants to connect should provide the private key to connect to instance. - In the Network Settings, click Edit and choose the VPC
myvpcand Subnetmypublicsubnetwhich you have already created. Change the Auto Assign Public IP to Enable - For Firewall (Security Group), choose the Create security group and provide a name
ssh-access.

- Leave the remanining settings as default and proceed to Summary and verify all the details are good.
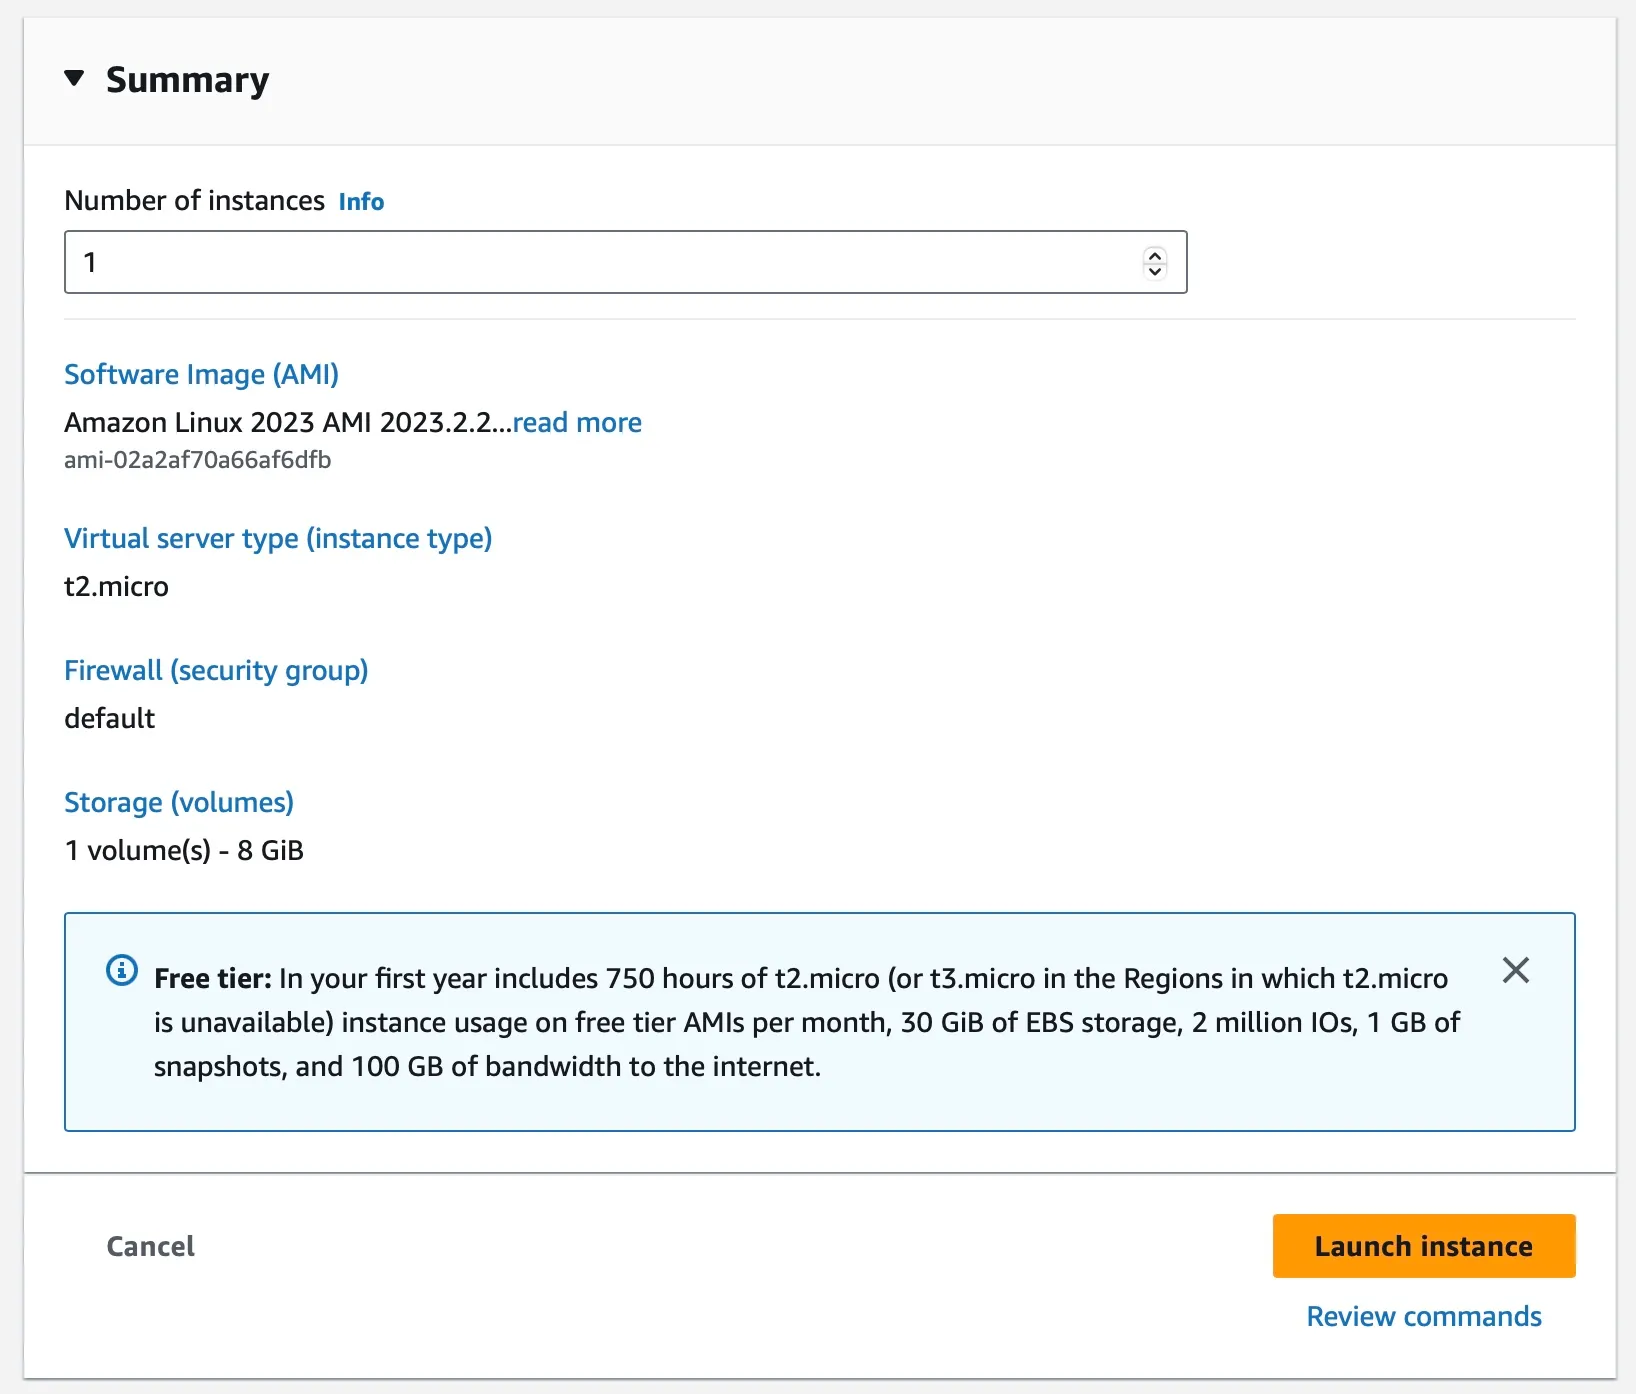
- Once you have verified all the settings, click Launch instance. This will provision the instance and start running the operating system and applications.
Connecting to Instance
Section titled “Connecting to Instance”- Goto EC2 Dashboard page and you will find the instance created
- Click on the instance
myinstance - Click “Connect” and you can choose the option “EC2 Instance Connect” to open the instance in the browser window
- You will see the SSH window with command line logged into the user